Software & Firmware
All of the software and firmware lives in this GitHub repository. Much of the software discussed in this section will be housed in the GCode folder
Image Conversion
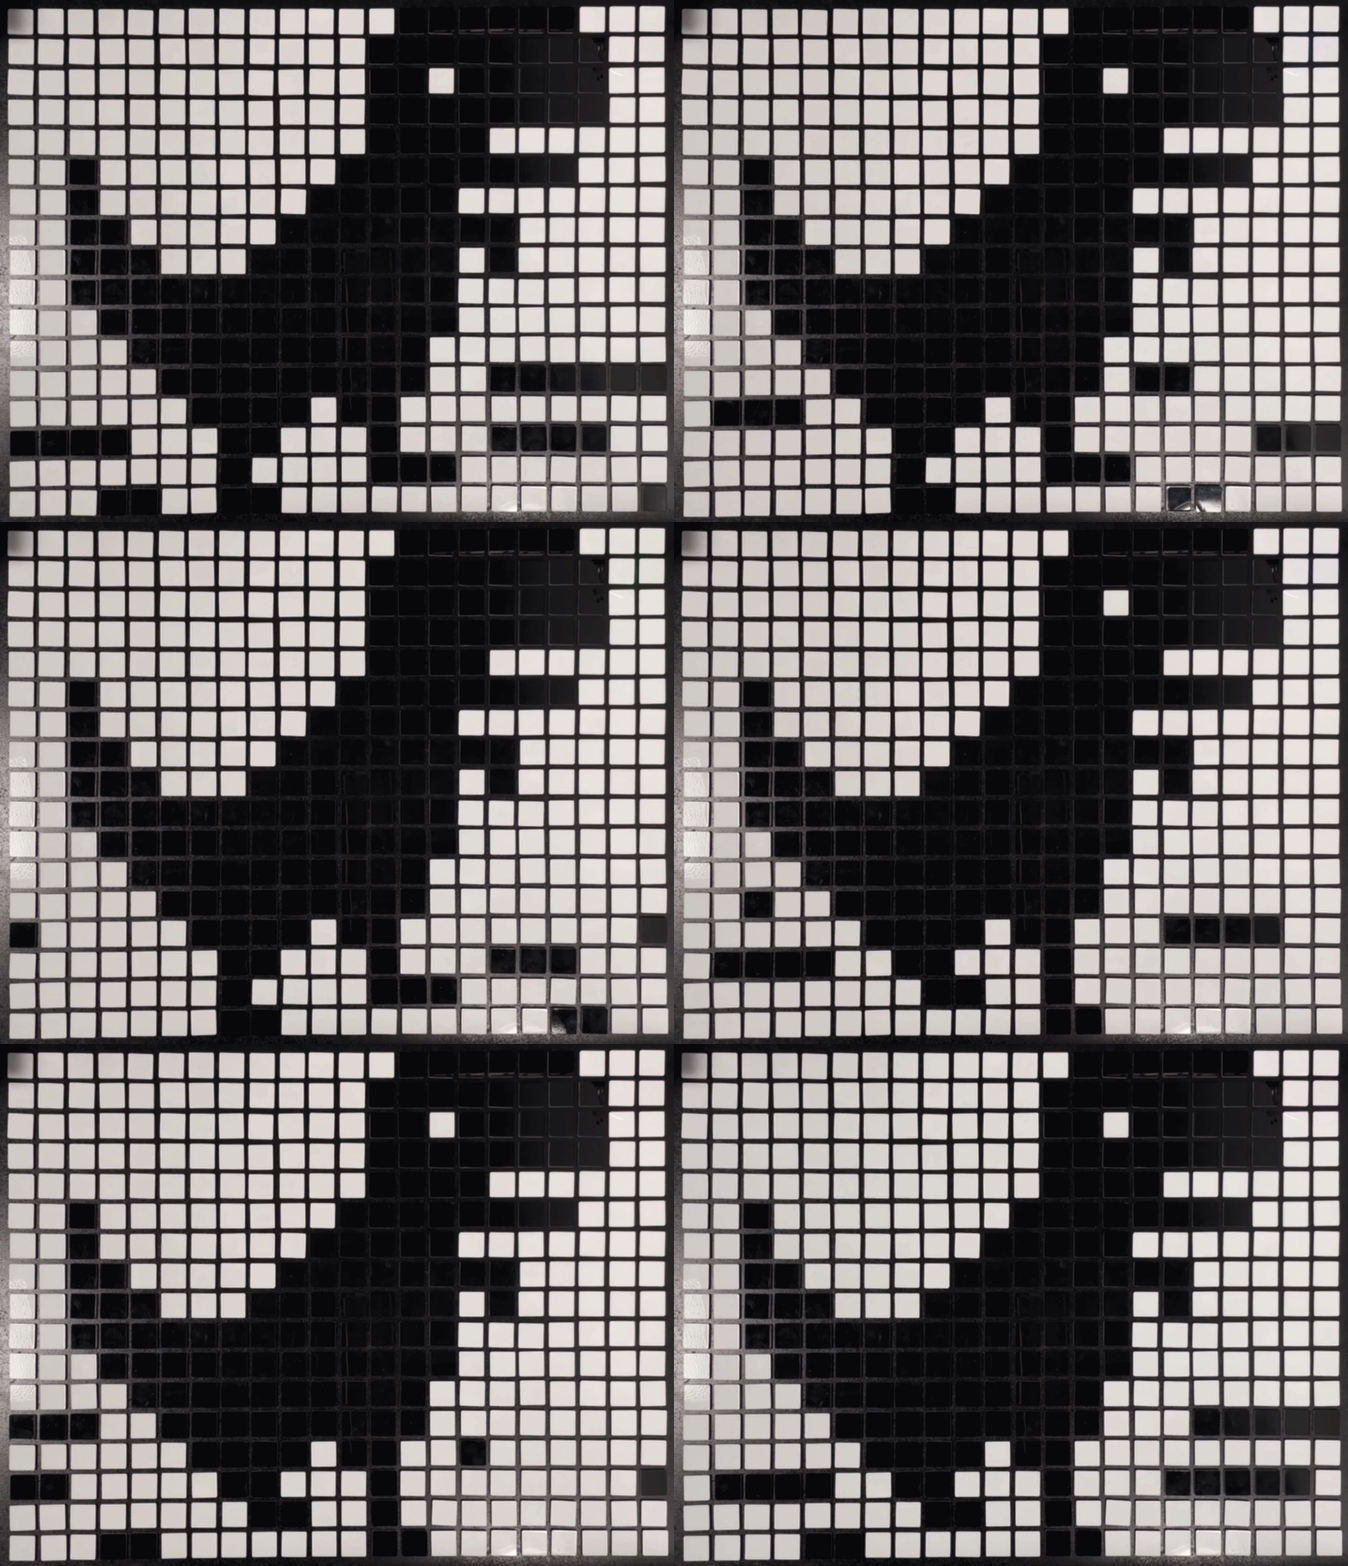
Raw images can be processed by our python script, convert_image.py. The script takes in any raw image and outputs a binary array. Each element in the array represents a tile location, with 0 denoting white tiles and 1 denoting black tiles. This conversion occurs in the following steps:
- Convert image to grayscale
- Reduce Image resolution to 17 x 22 pixels
- Convert to a array, with each entry representing a pixel
- For each pixel, those that are higher (i.e., lighter) than a certain threshold map to 0 to represent white and those lower (i.e., darker) map to 1 to represent black
Software Architecture
Before running the code, the prerequisites of our softwares are:
The Python software architecture is for generating the G code we have The Python script we run is generate_g_code.py. It first converts an image to a binary array using the convert_image_to_array function in the image convert file so the image becomes a binary array. Then we define a numpy array of zeros that has the same dimensions of the binary array of the image so we can compare an all-white image (our default “empty of a photo” grid setup) to the image we want and so that we know the indices of the tile we want to flip. To figure out the indices of the tile we want to flip, we use update grid, which uses nested for loops to iterate through the tile indices (indexed by row and column) in each image and checks whether corresponding indices in each image are the same. Then, that update grid function calls the flip tile function, which writes the flipping tile procedure to our g code text file, adding a new line to the end of each command. We write commands not directly, but by calling custom g code writing functions we have in a file called gcode_convert.py. The gcode_convert.py file has the commands that write our GCode commands to the text file for any g code command we could want to execute. The functions included in that file are as follows:
- G_code_move_xy, which takes in a tuple of xy coordinates that we use to write a g1 movement command to the text file
- G_code_move_z, which takes in a height that we use to write a g1 movement command to the text file
- G_code_pump, which takes in the state of the pump, strings “ON” or “OFF” to write the pump g code command to the text file that either turns the pump on or off
- G_code_valve, which takes in the state of the valve, strings “OPEN” or “CLOSED” to write the correct (either open_valve or close_valve) g_code command to the text file
- G_code_delay, which takes in a delay and writes a G4 delay command to the text file. We insert delays in the flip tile procedure when we place a tile or pick it up to ensure that either a: the flipper has time to flip the tile before it is picked up or b: the toolhead has time to adhere to the tile before picking it up or c: the toolhead can drop the tile back in its position precisely.
- G_code_probe, which writes the custom probe_tile g code command to the file. We probe whenever we want to verify that we’ve picked up a tile. The probe tile command works by moving the z position of the toolhead down until the tile is touched by the toolhead (until the limit switch on the toolhead is tripped)
All of these functions take in the text file as a parameter as well, so that we can write to it. The top of that file and also the generate_g_code file is where we designate a lot of our global parameters, such as the travel height, flipper pickup position, drop off position, xy speed, z speed (they’re separated so we can speed up the z), etc. We run the flip tile function calls until all of the tile indices have been iterated through in update_grid. We then copy the output from the text file we write to to a new 3d printing gcode file (.gcode extension) on the klipper firmware and simply run by right clicking and selecting “print”
